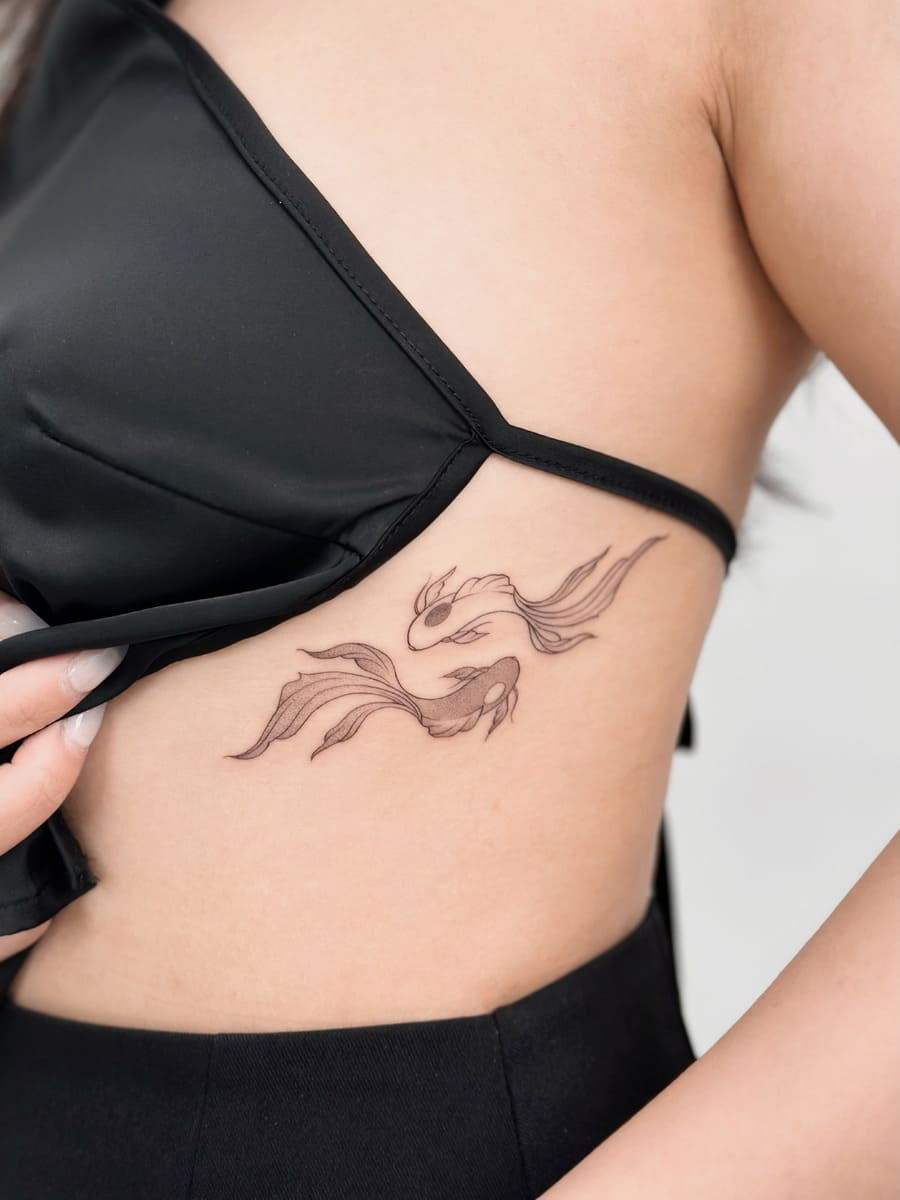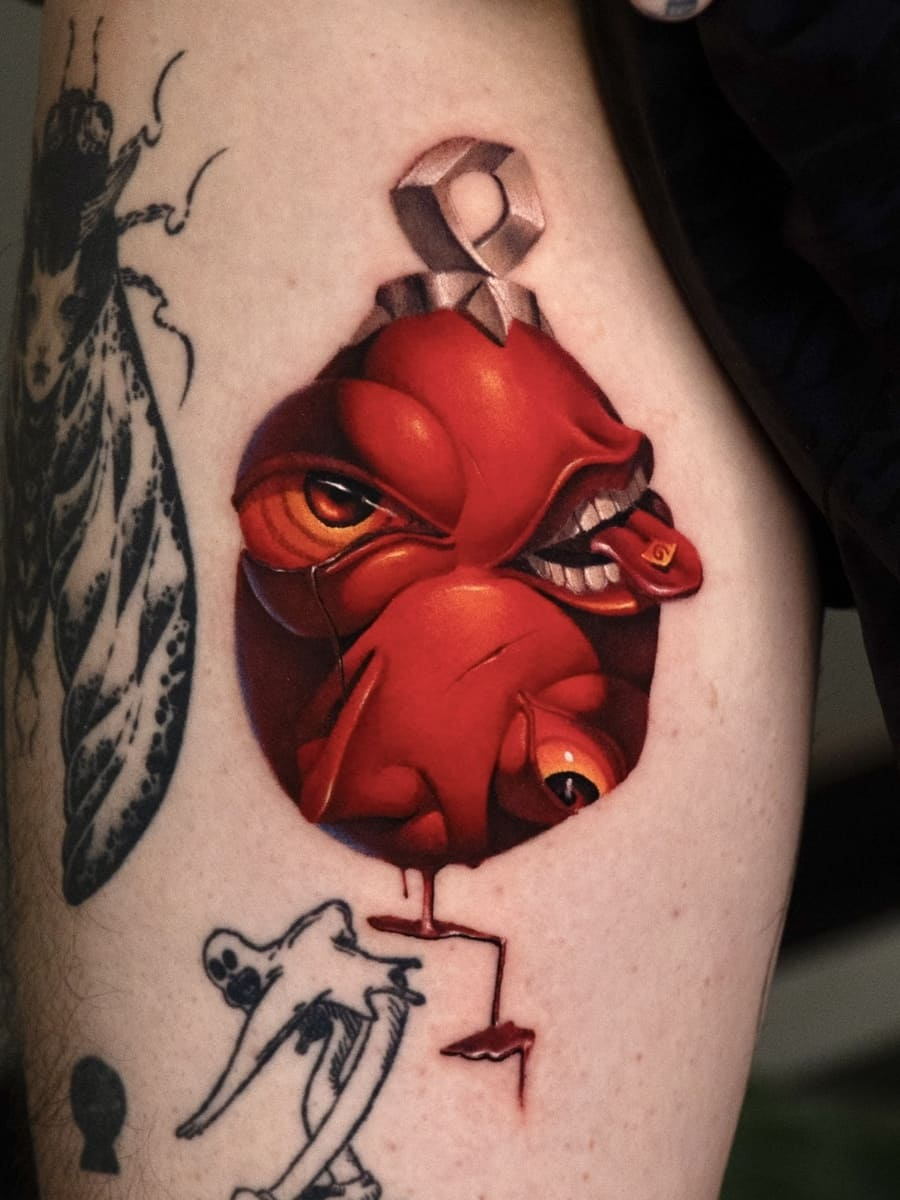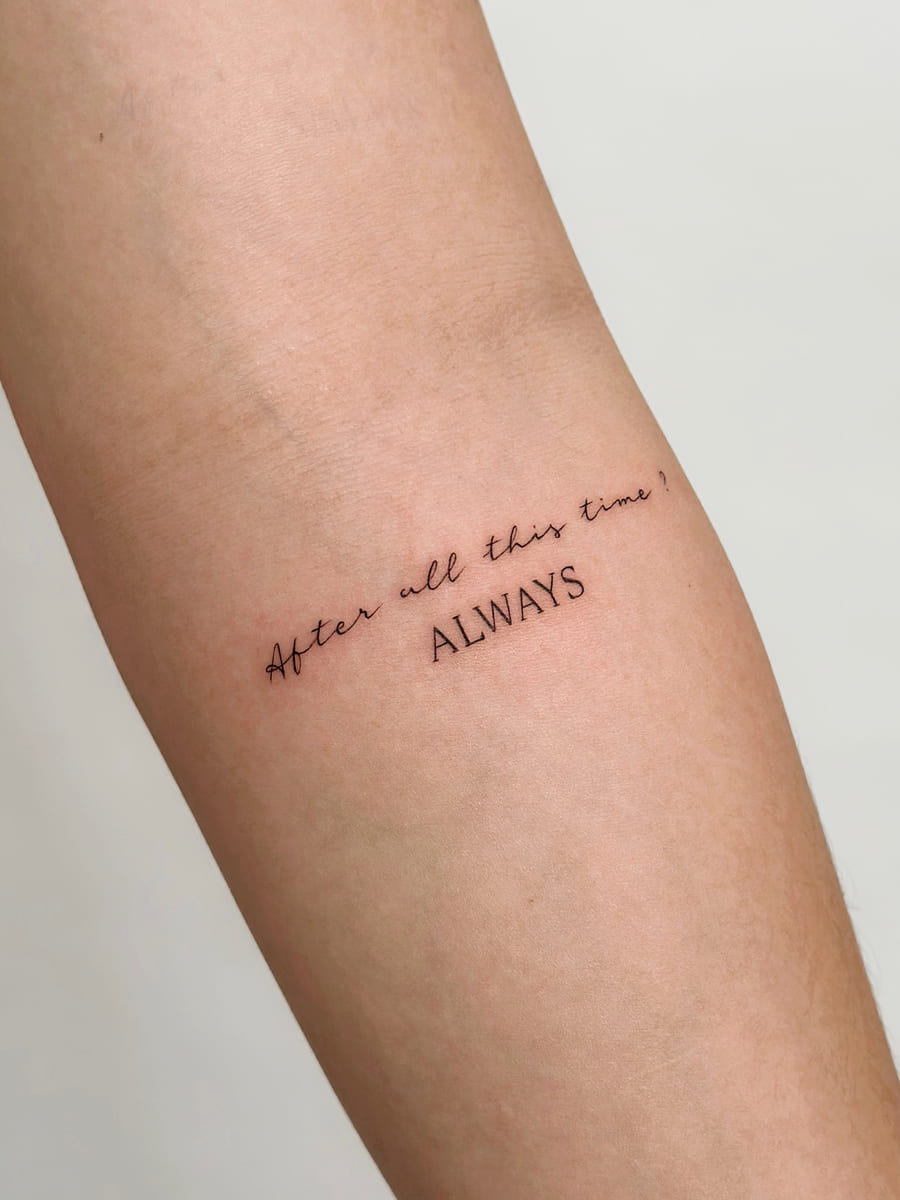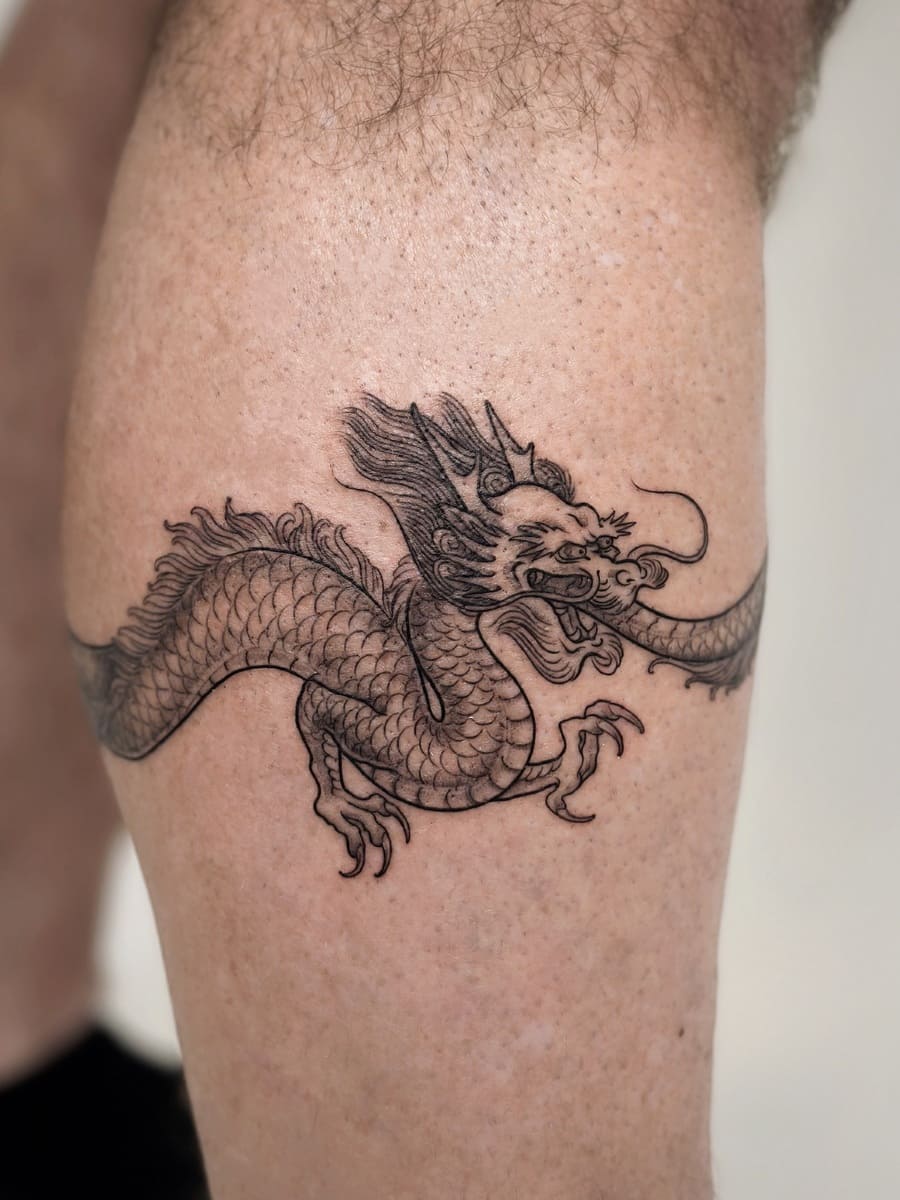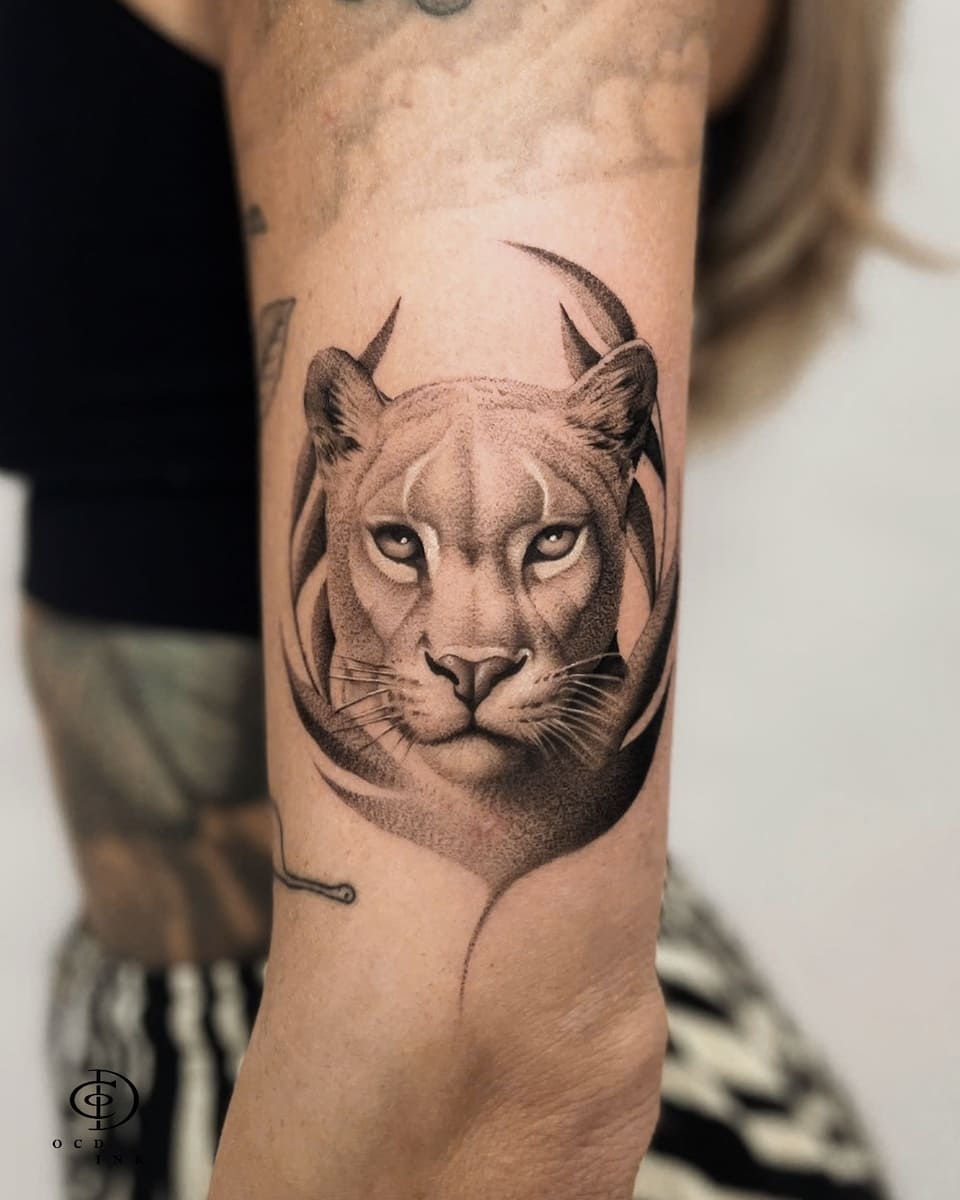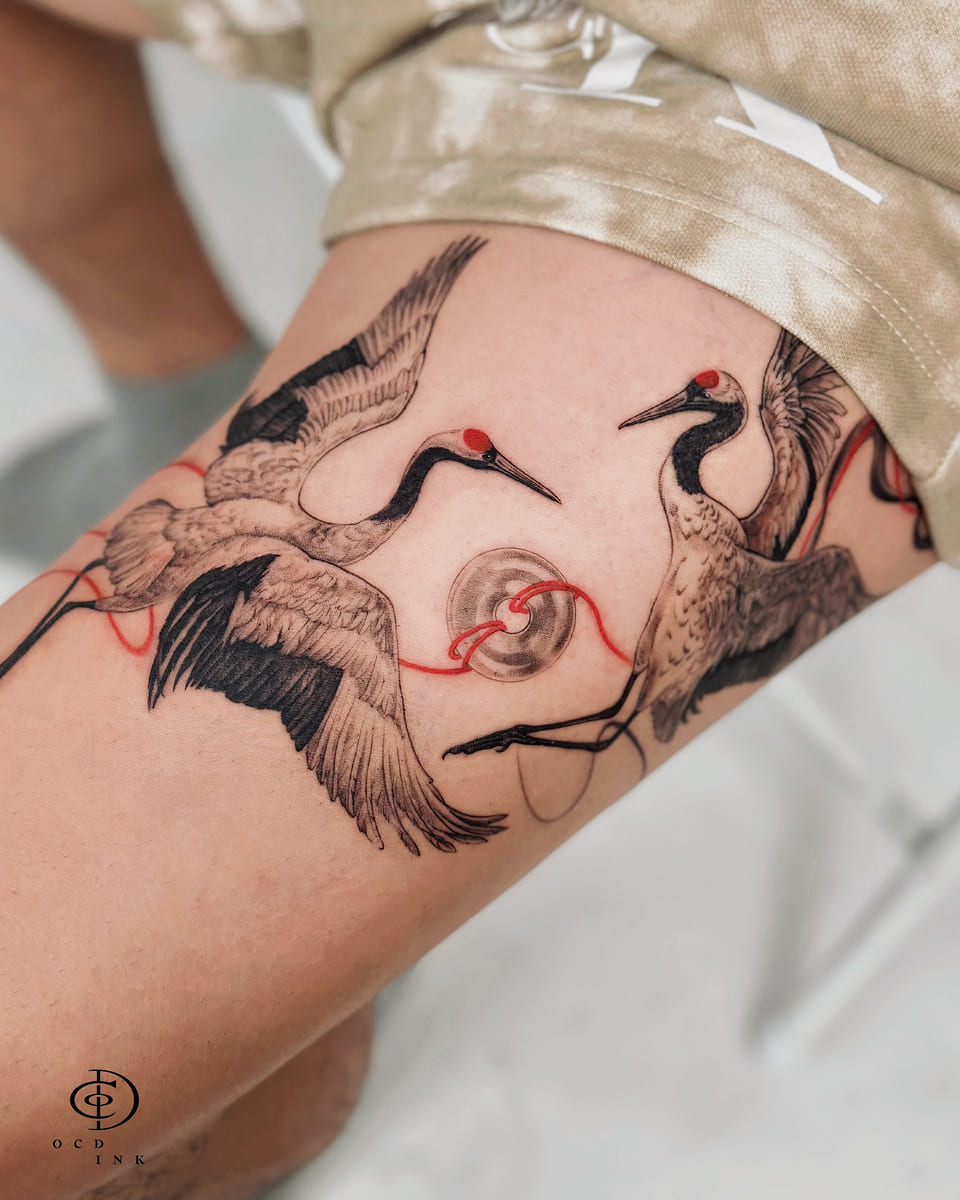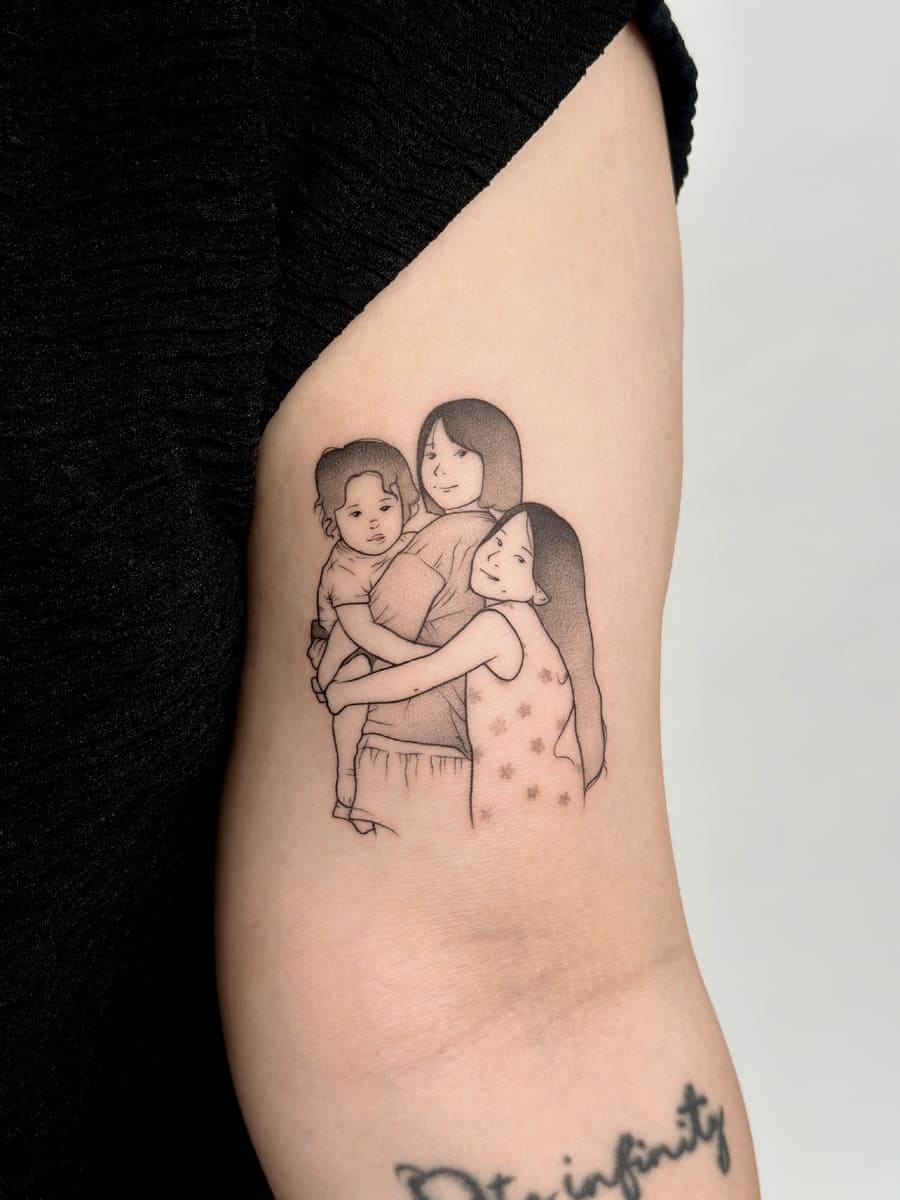
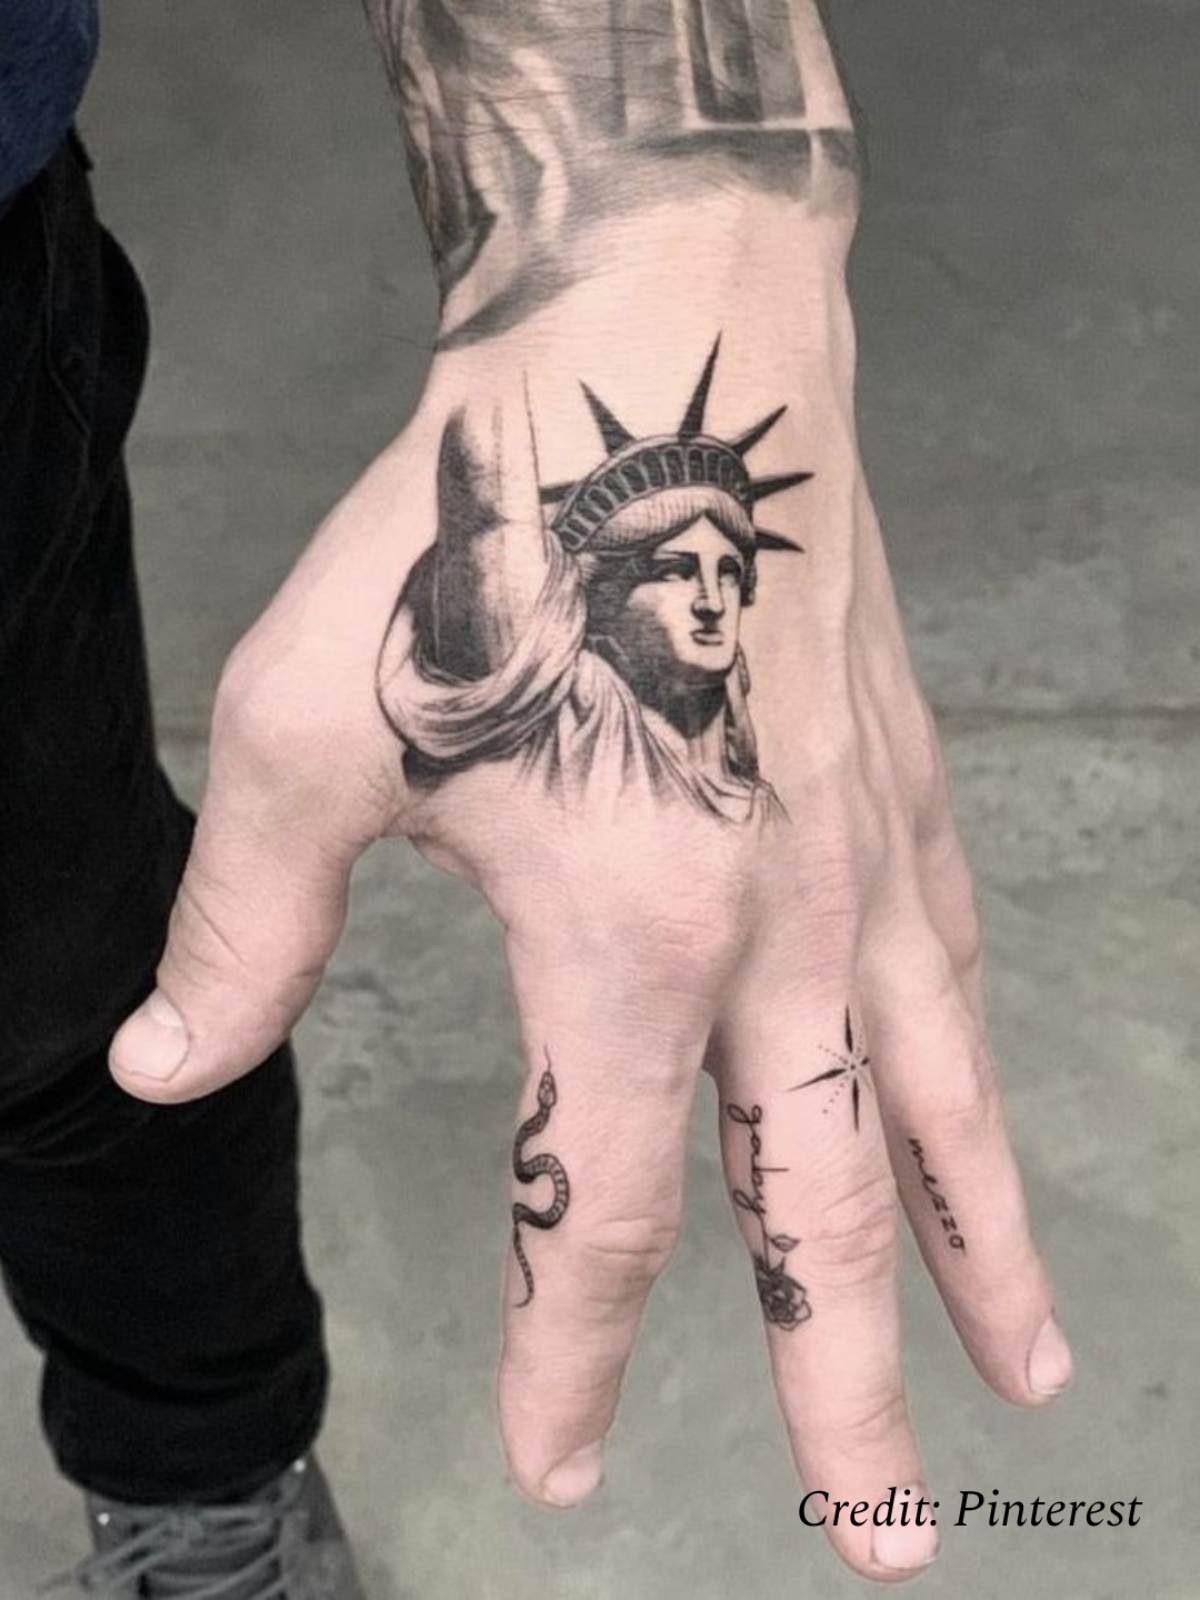
A Statue of Liberty tattoo is one of the most recognisable landmark designs in tattooing, carrying meanings of freedom, resilience and belonging. It works across a wide range of styles, from a detailed realism portrait to a wrist-sized outline of the silhouette.
The design decision that matters most is not style but size. Lady Liberty’s face, crown spikes and torch detail are what make the figure readable, and all three are the first things to soften as a tattoo heals. This guide covers the styles, the size thresholds that keep the design legible, and the placements that suit each approach.
What the Design Means
The statue carries meaning well beyond New York, which is why it appears on people who have never lived in the United States.
- Freedom and independence. The most common reading, and often personal rather than political: leaving a job, a country, a relationship, a version of yourself.
- Resilience. The upright posture and raised torch read as endurance, which is why the design appears frequently on people marking recovery or a hard passage.
- Arrival and belonging. For families with an immigration story, the statue is the specific image of arriving somewhere new. This is the version with the most emotional weight, and the one most worth building a custom design around rather than using flash.
- A place you went. Straightforwardly, a landmark tattoo marking a trip. It sits alongside other travel tattoo ideas and landscape work as a way of carrying a journey on your skin.
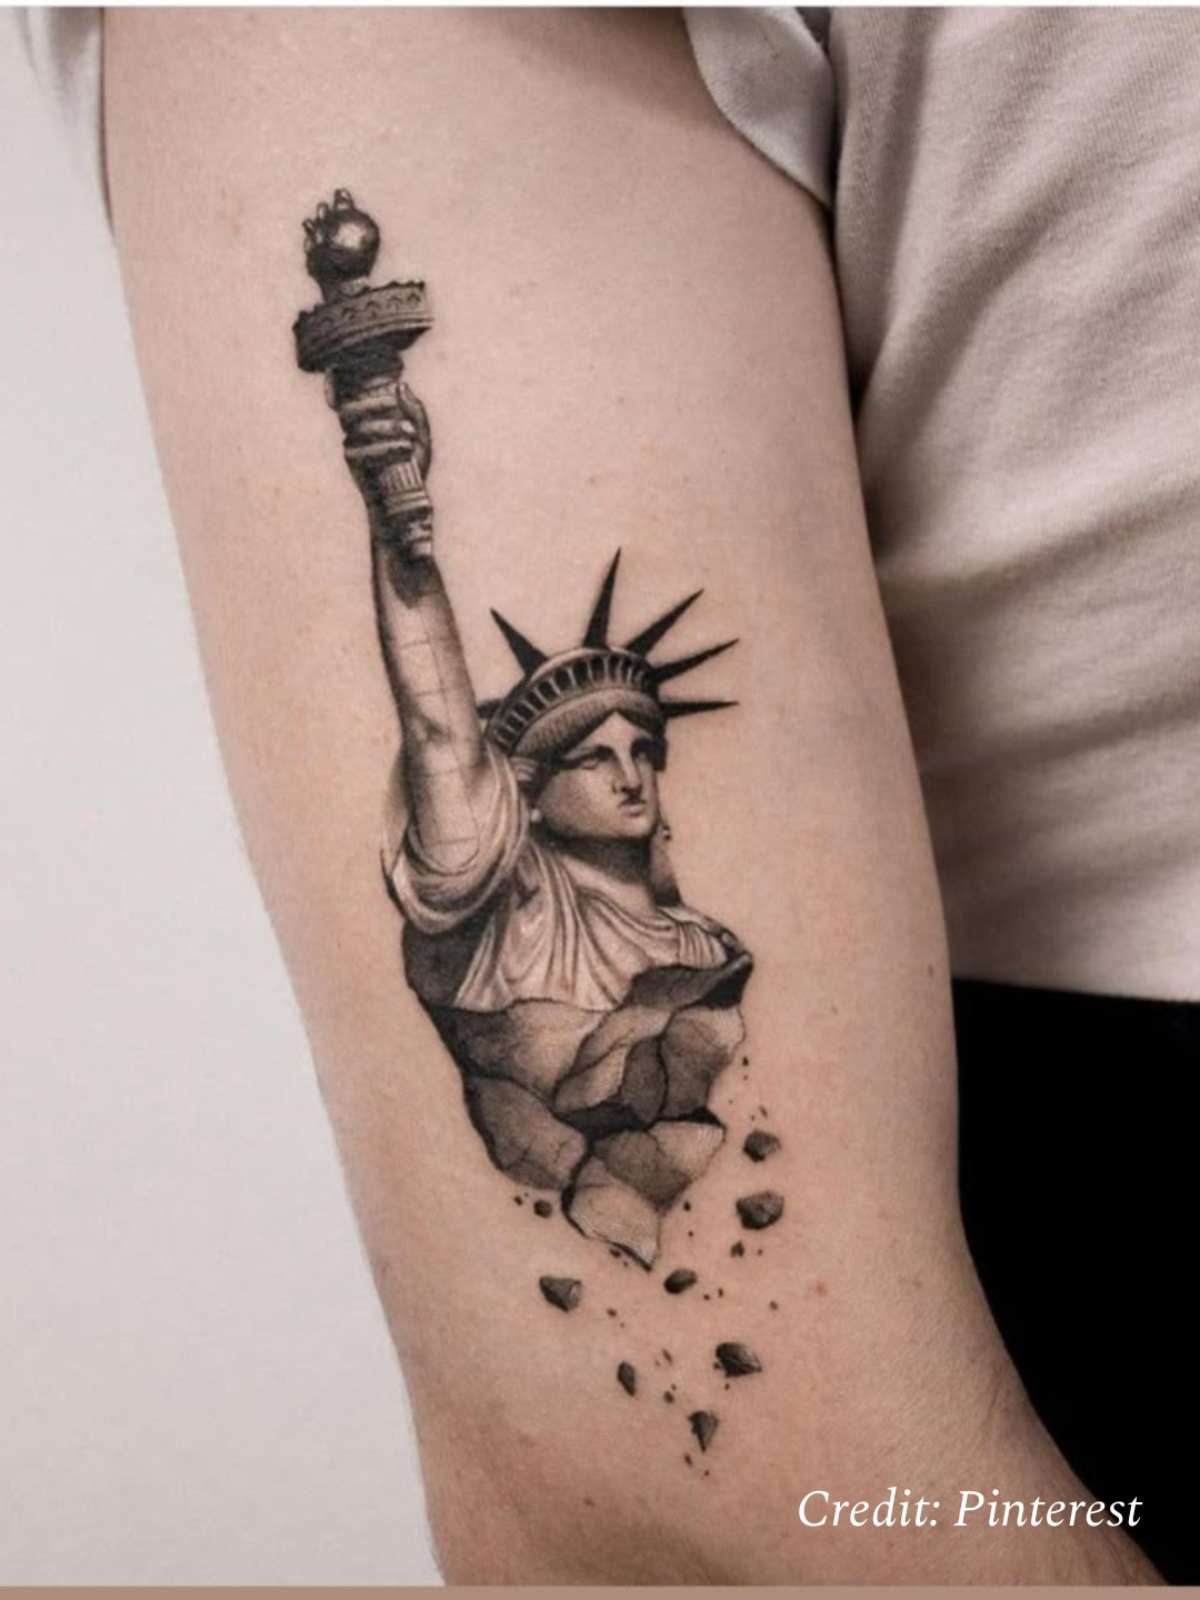
The Size Rule Nobody Mentions
Before choosing a style, understand which parts of this design carry it and how they behave as skin heals and ink settles over the years.
| Element | Minimum size to stay readable | What happens if it is smaller |
| Silhouette only | 3 to 4 cm | Holds well; the outline is distinctive on its own |
| Crown spikes | 6 cm and up | The gaps between spikes close and it reads as a solid shape |
| Torch flame detail | 8 cm and up | Flame detail merges into a blob |
| Facial features | 12 cm and up | The face loses definition and reads as generic |
| Full realism portrait | 20 cm and up | Shading has nowhere to sit; contrast flattens over time |
Every tattoo spreads slightly as ink settles into the dermis over the years. Detail that is tight on day one closes up by year five. This is why an 8 cm realism attempt at the face will disappoint and an 8 cm clean silhouette will not.
The practical rule: match the amount of detail to the space you have, rather than shrinking a detailed design to fit a small space.
Four Ways to Approach the Design
1. Realism
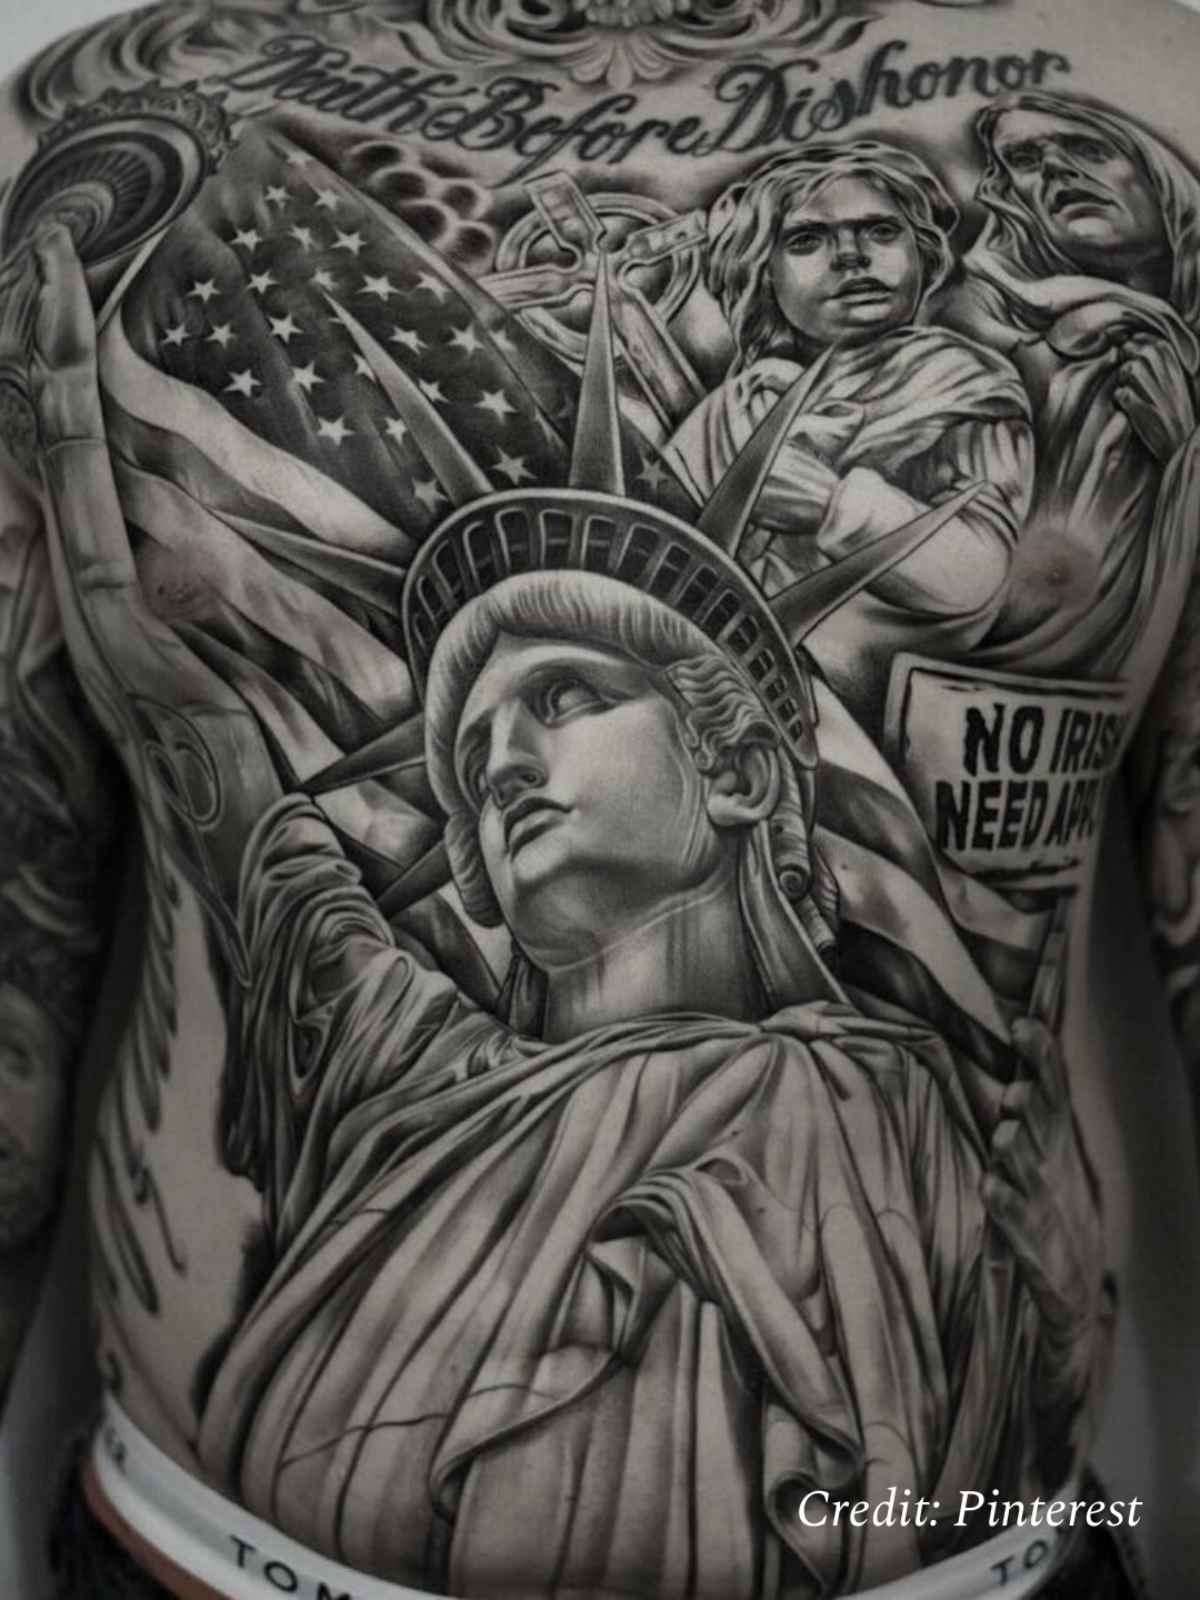
A full portrait treatment capturing the folds of the robe, the weathered texture of the copper and the expression on the face. This is the most technically demanding version and needs a realism specialist rather than a generalist.
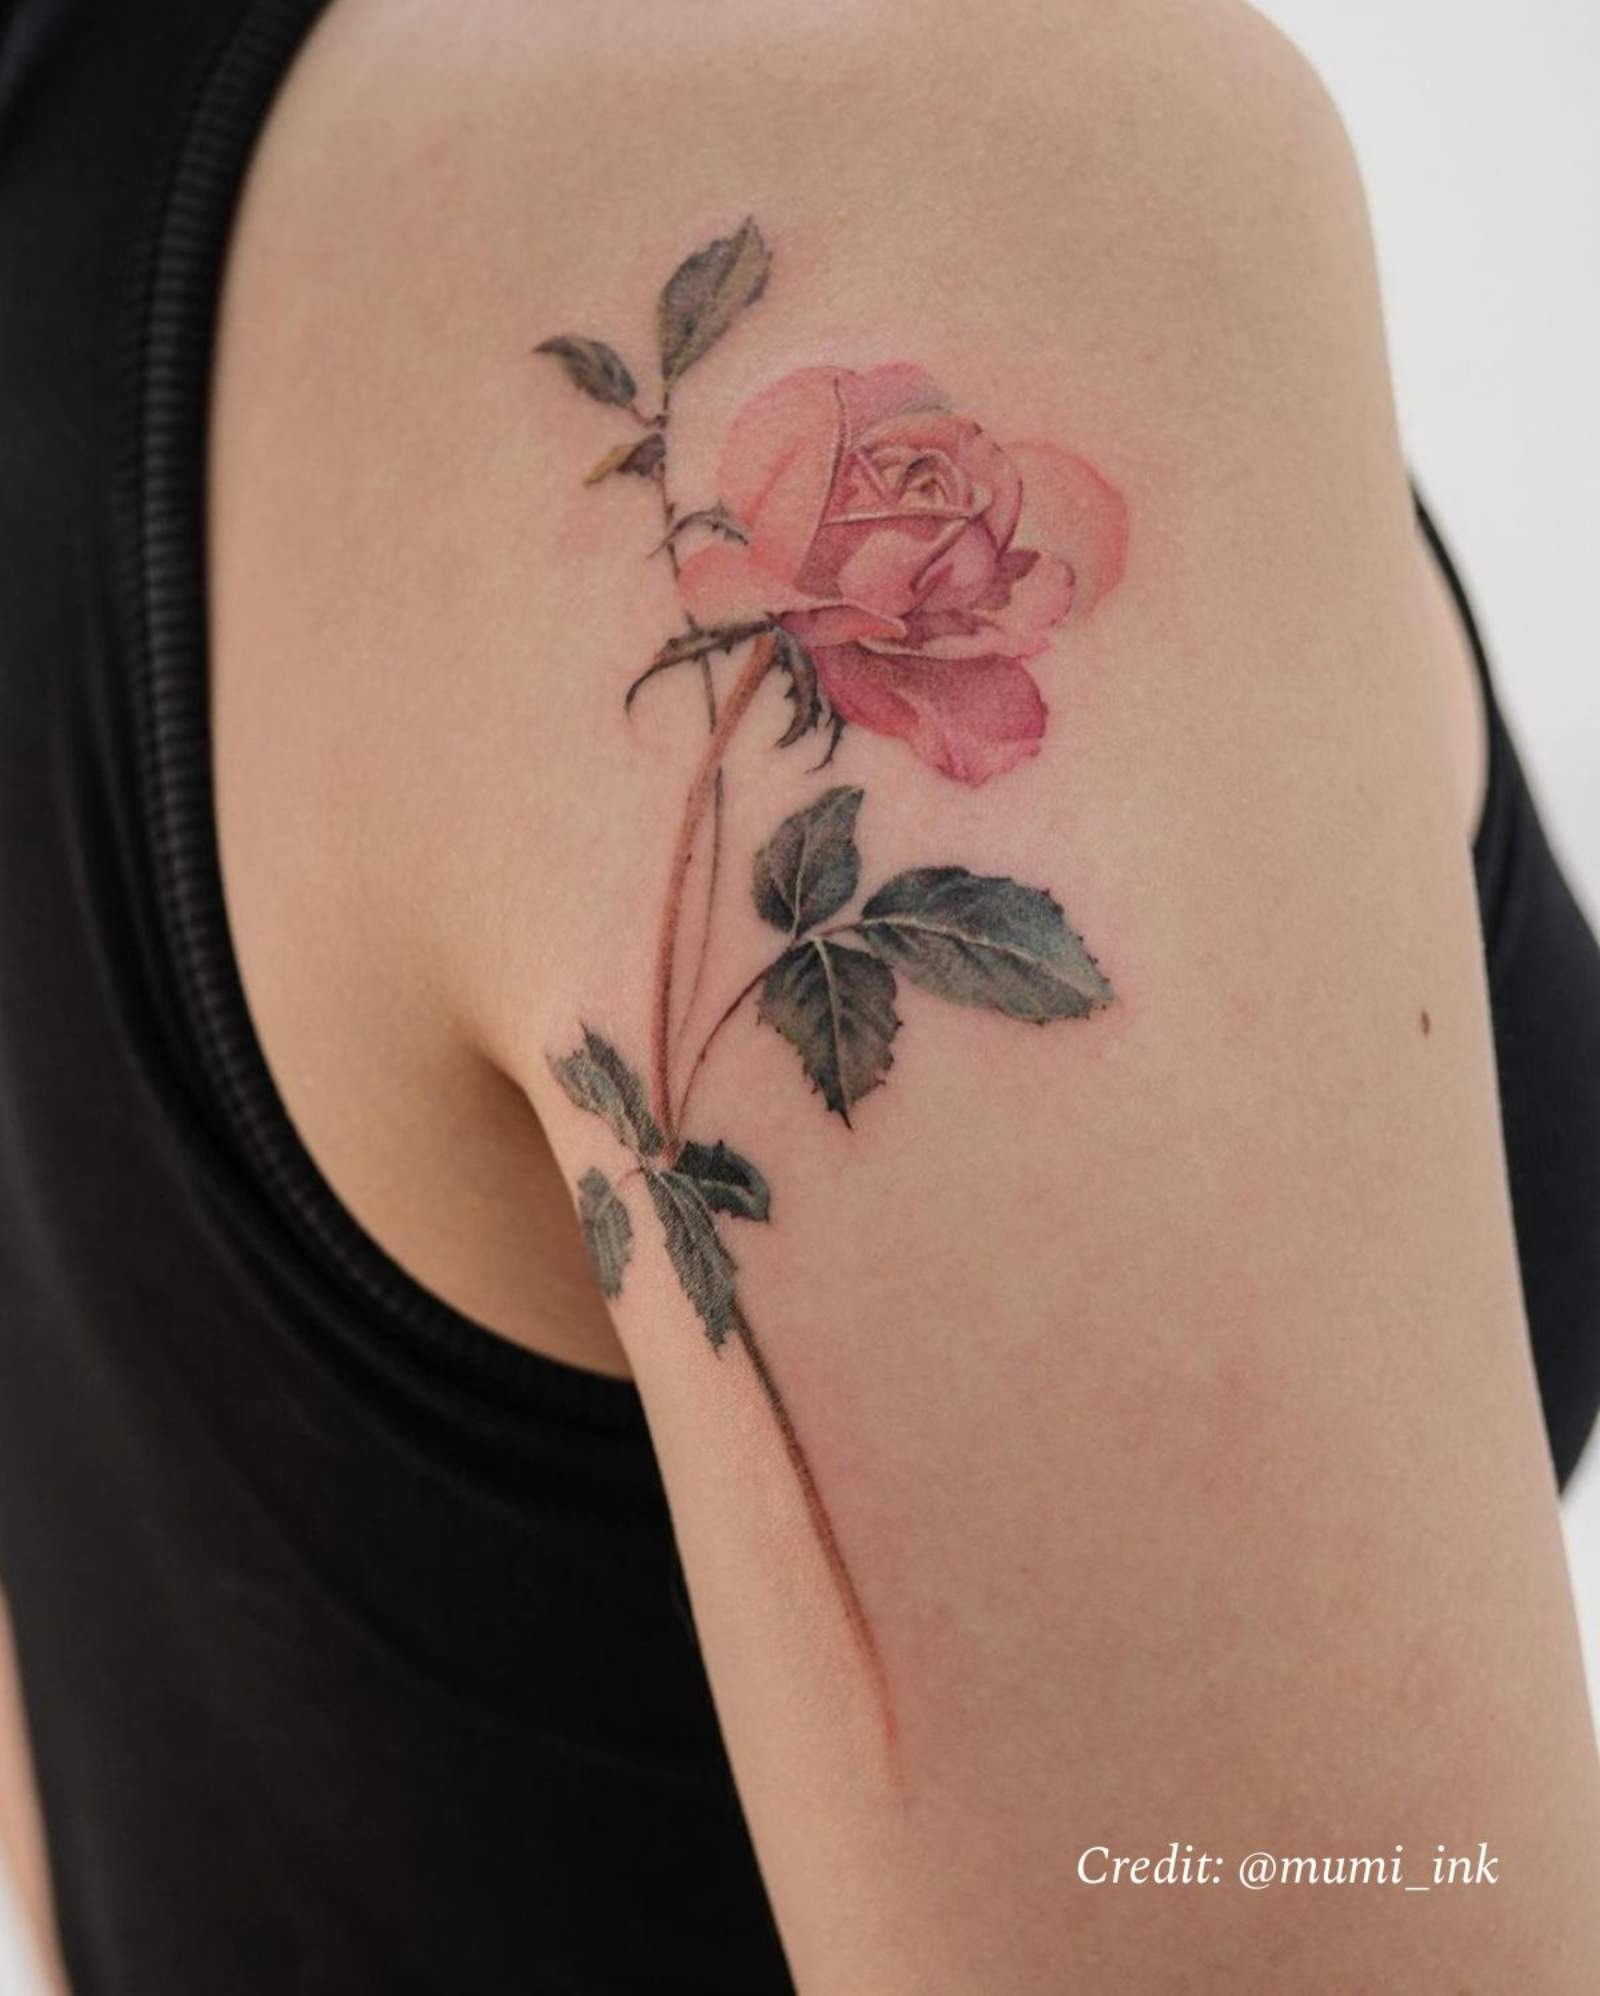
Best at: 20 cm and up, on an upper arm, chest or back. One decision worth thinking about: the statue’s real-world colour is oxidised green, but green pigment fades faster than almost anything else. Most experienced artists build this design in black and grey for that reason, using contrast rather than colour to carry the form. If you want the patina, discuss how it will age before committing.
2. Minimalist outline
Clean single-weight linework reducing the figure to its silhouette. Quick, less painful, and the version that ages most reliably, because there is no fine detail to lose.
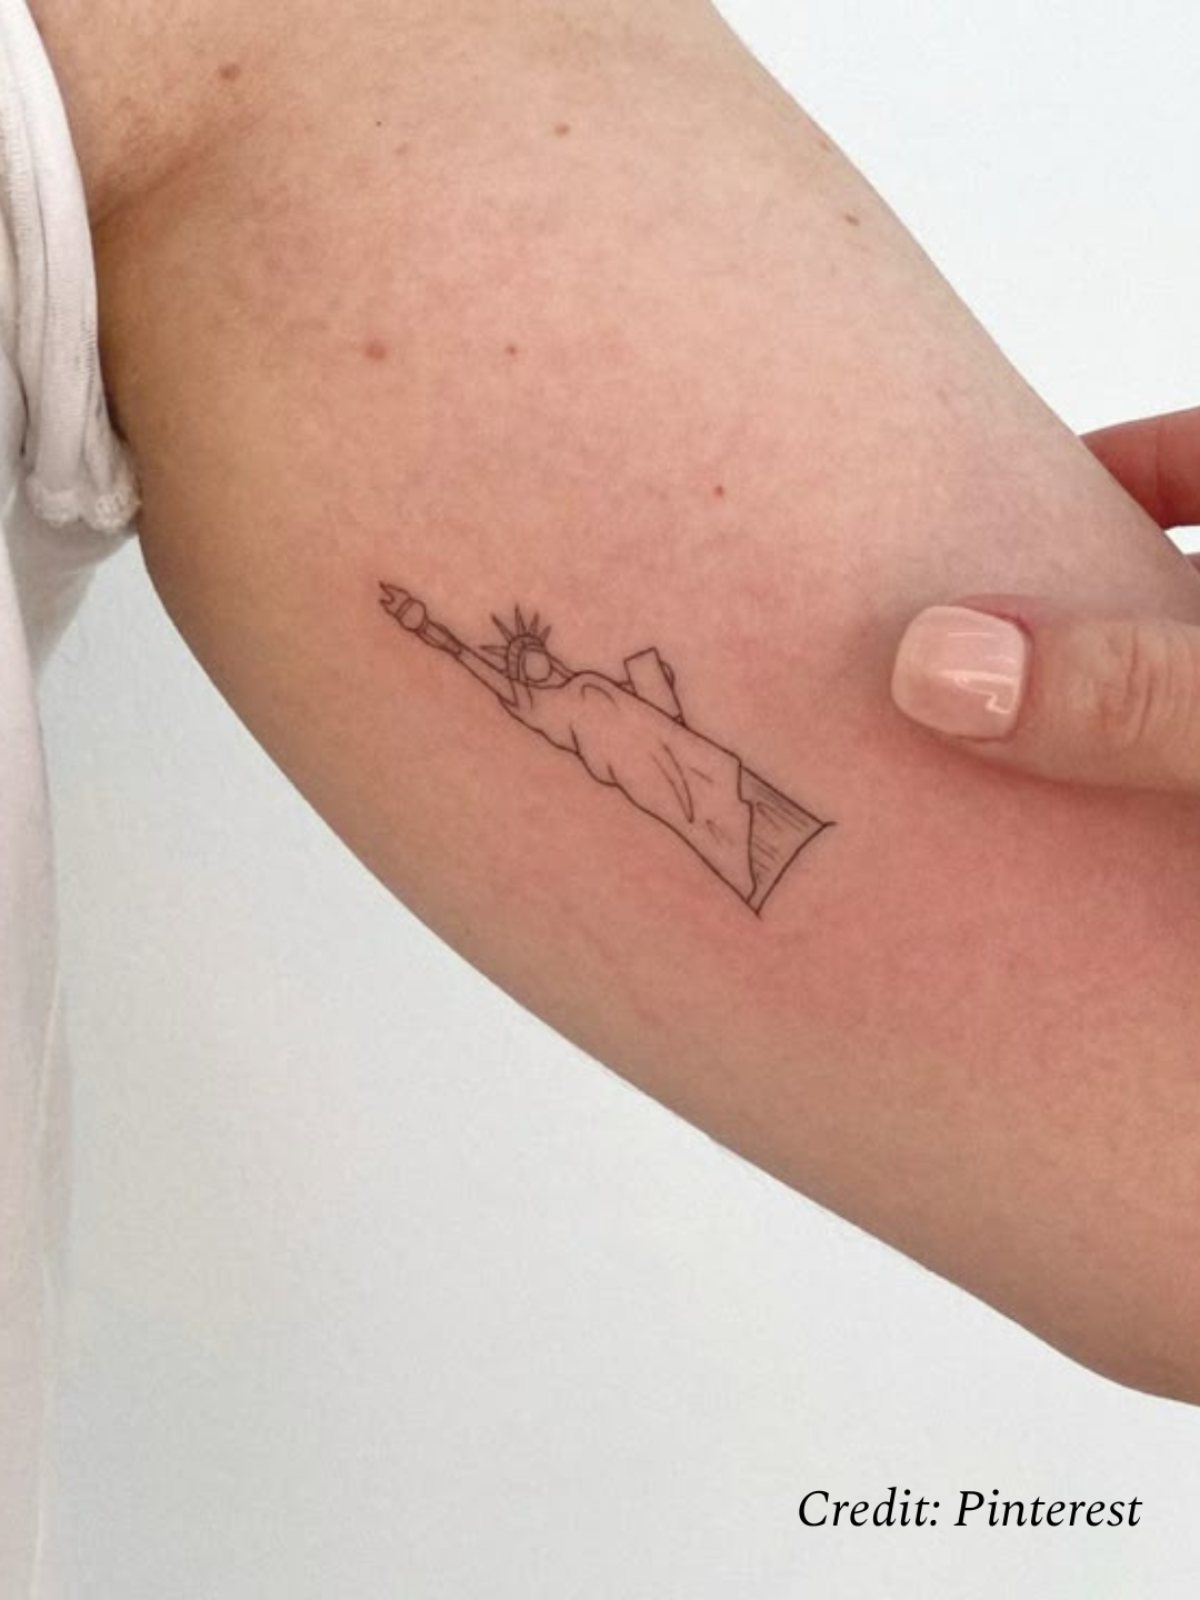
Best at: 3 to 8 cm, on the wrist, inner forearm, ankle or behind the ear. This is a fine line piece, and fine line is unforgiving of technique gaps: consistent needle depth across every millimetre of the outline is what keeps it crisp rather than blurred in five years.
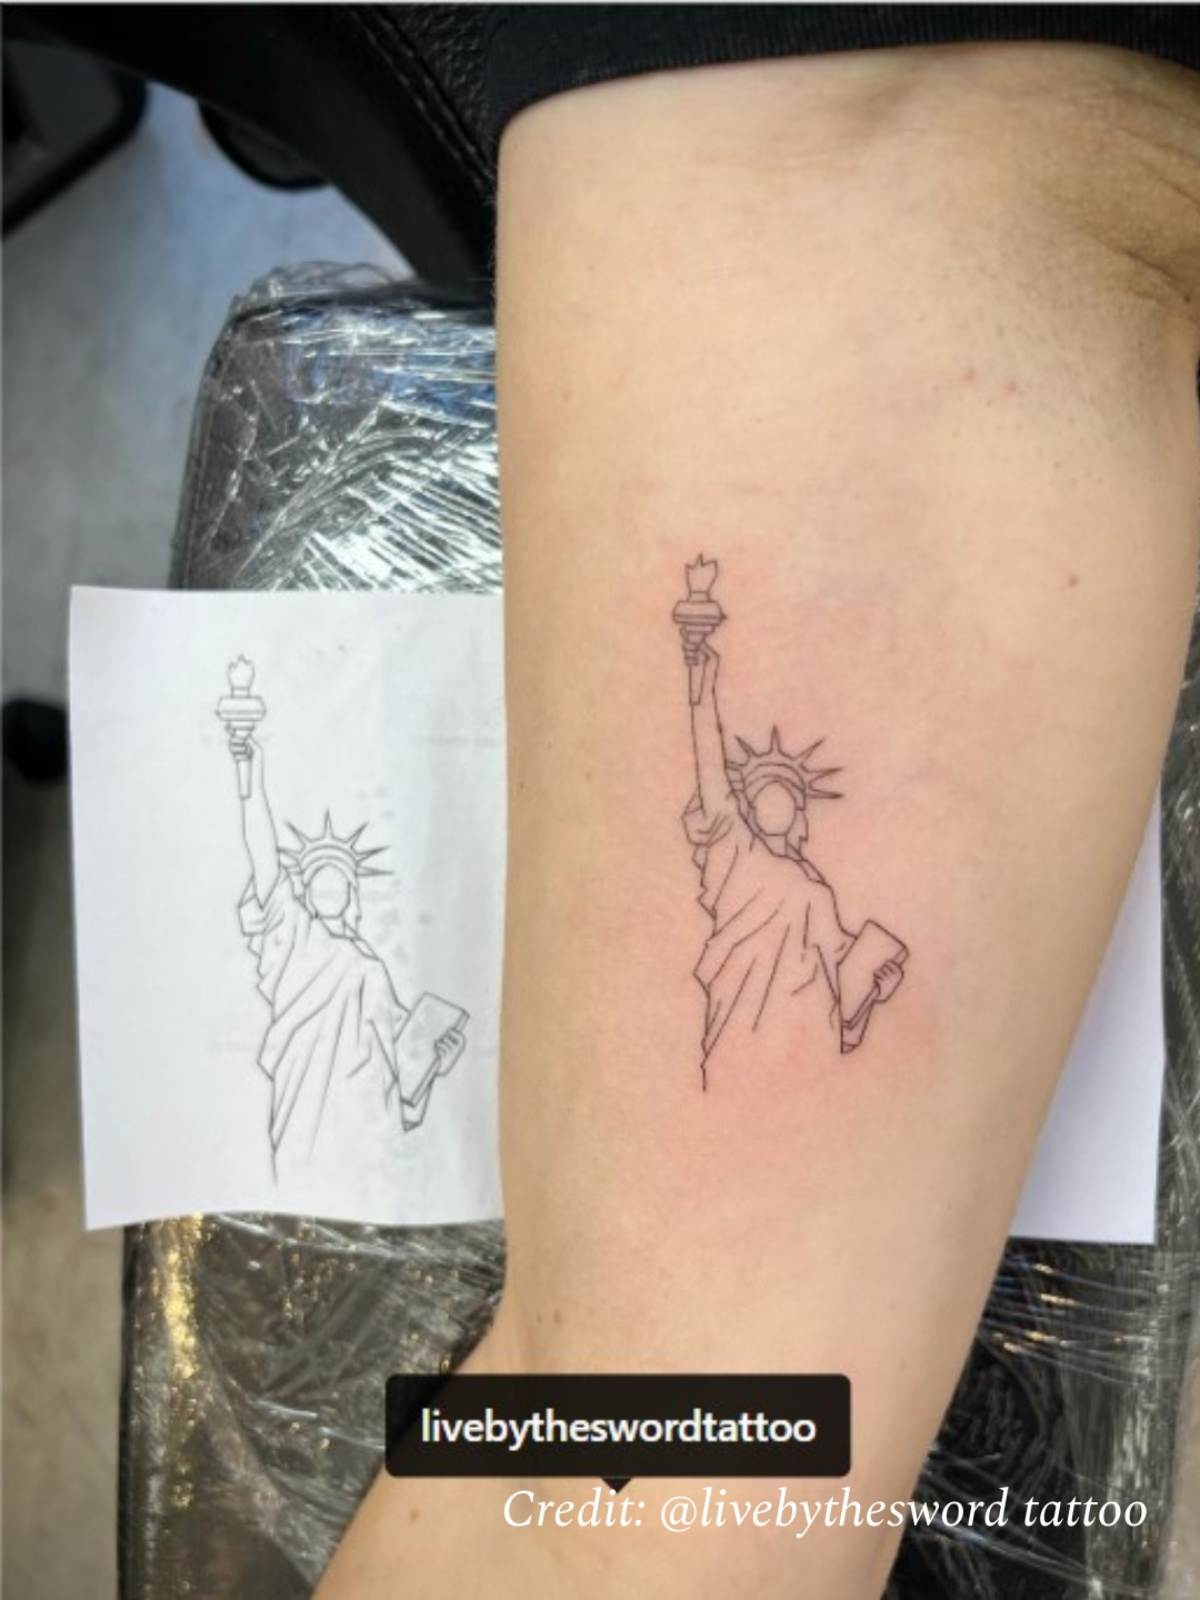
3. Neo-traditional and old school
Heavy outlines, flat saturated colour, and a bold graphic reading. Historically the version most associated with classic American tattooing.
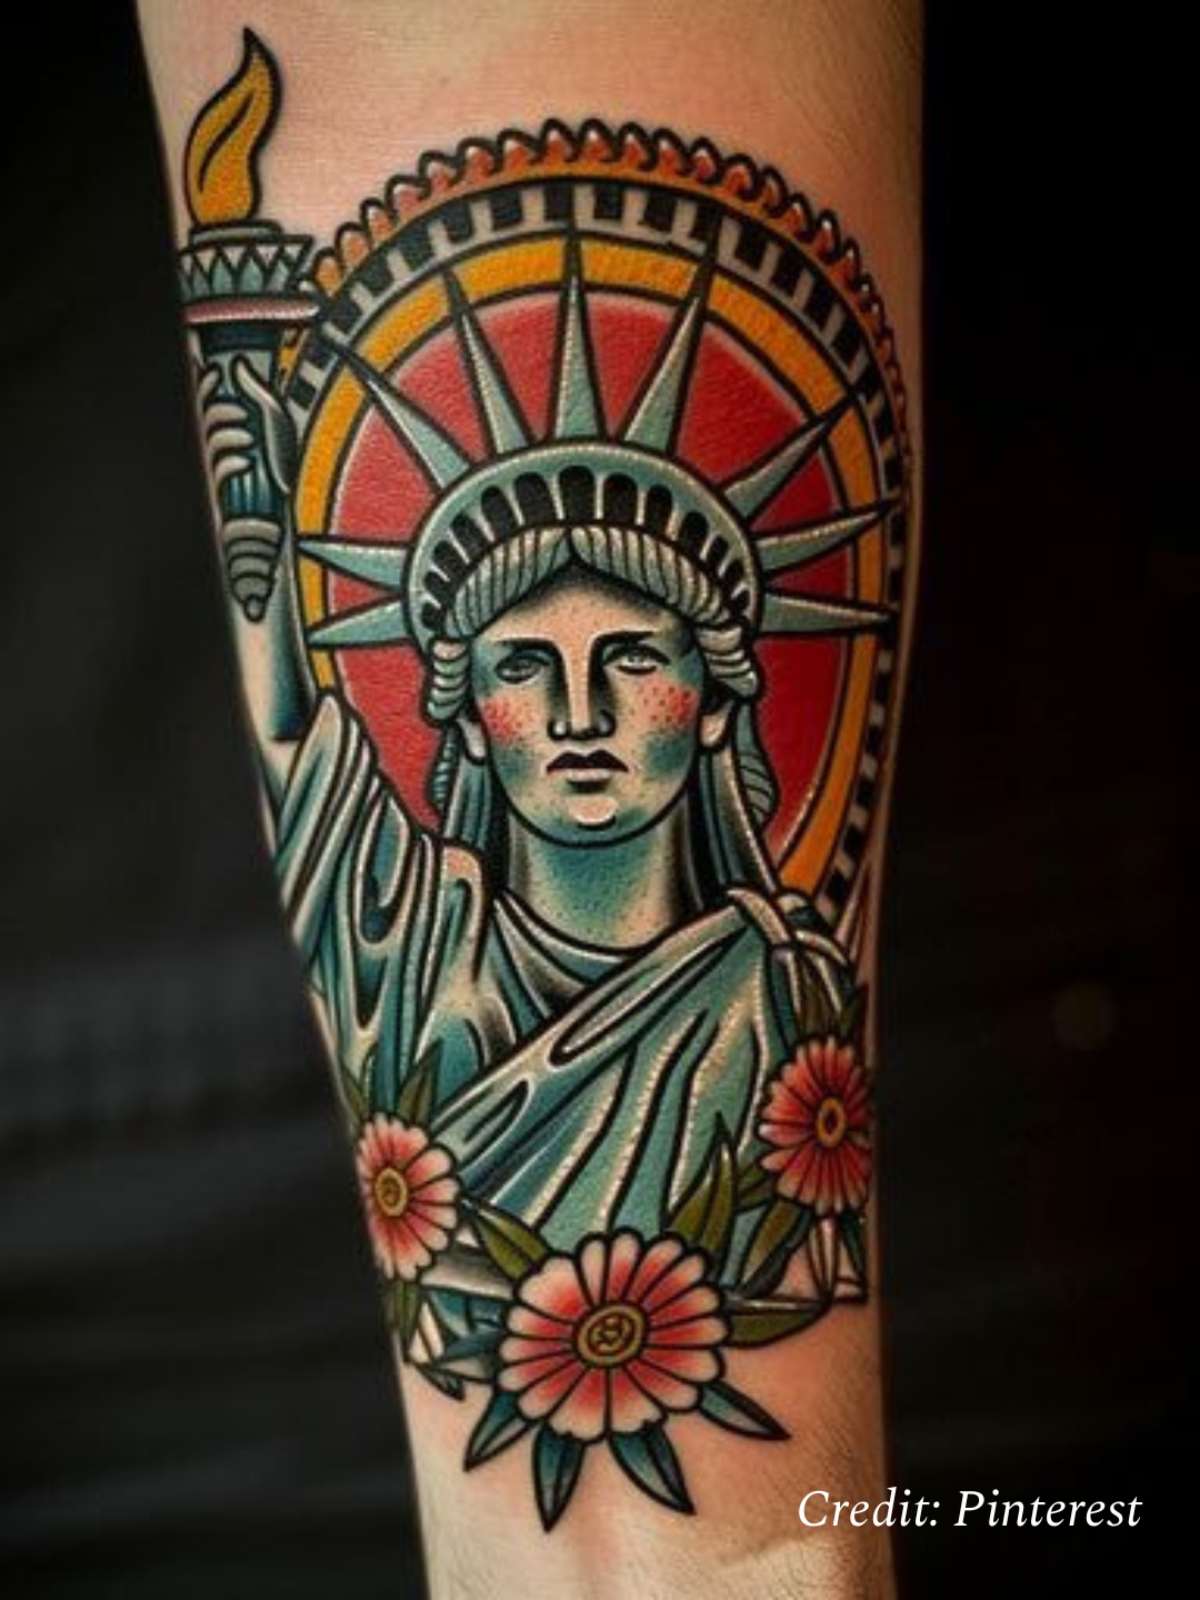
Best at: 10 to 20 cm, on the upper arm, calf or chest. The practical argument for this style is longevity: thick outlines and solid colour blocks are the most fade-resistant construction in tattooing. A traditional piece done well looks essentially the same at twenty years as at two.
4. Combinations
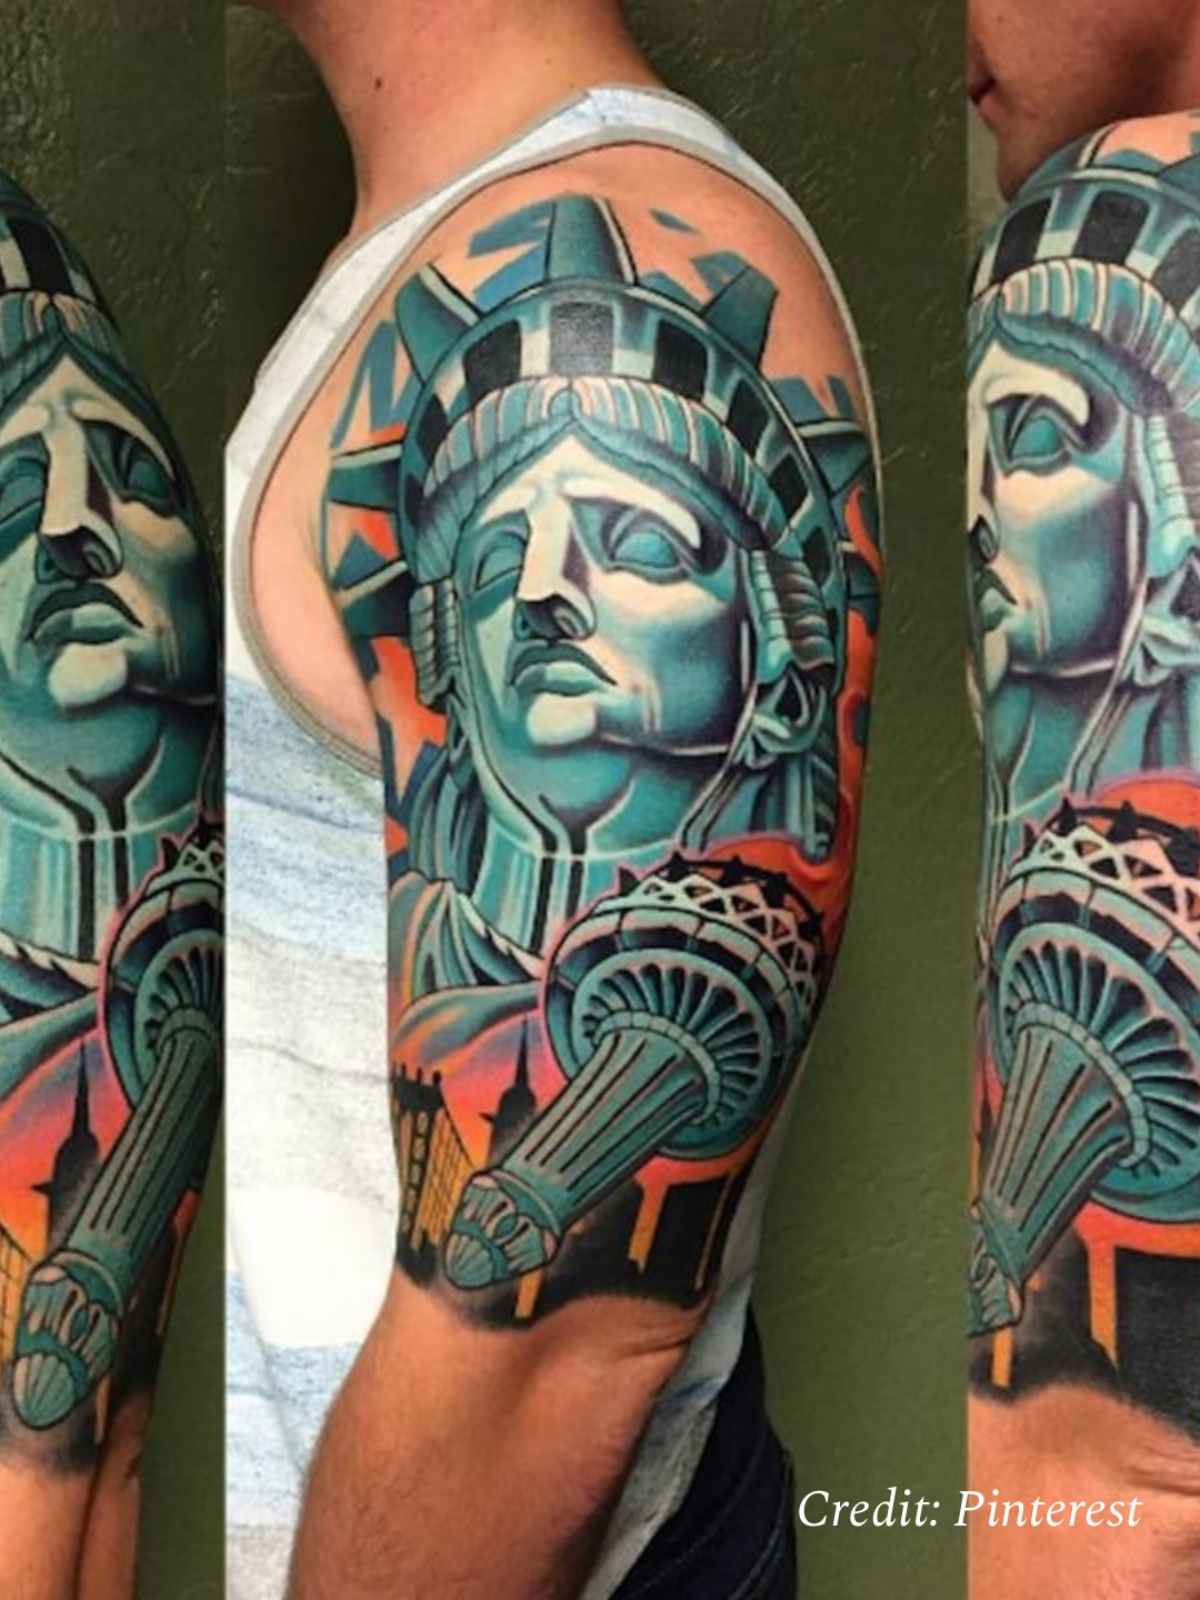
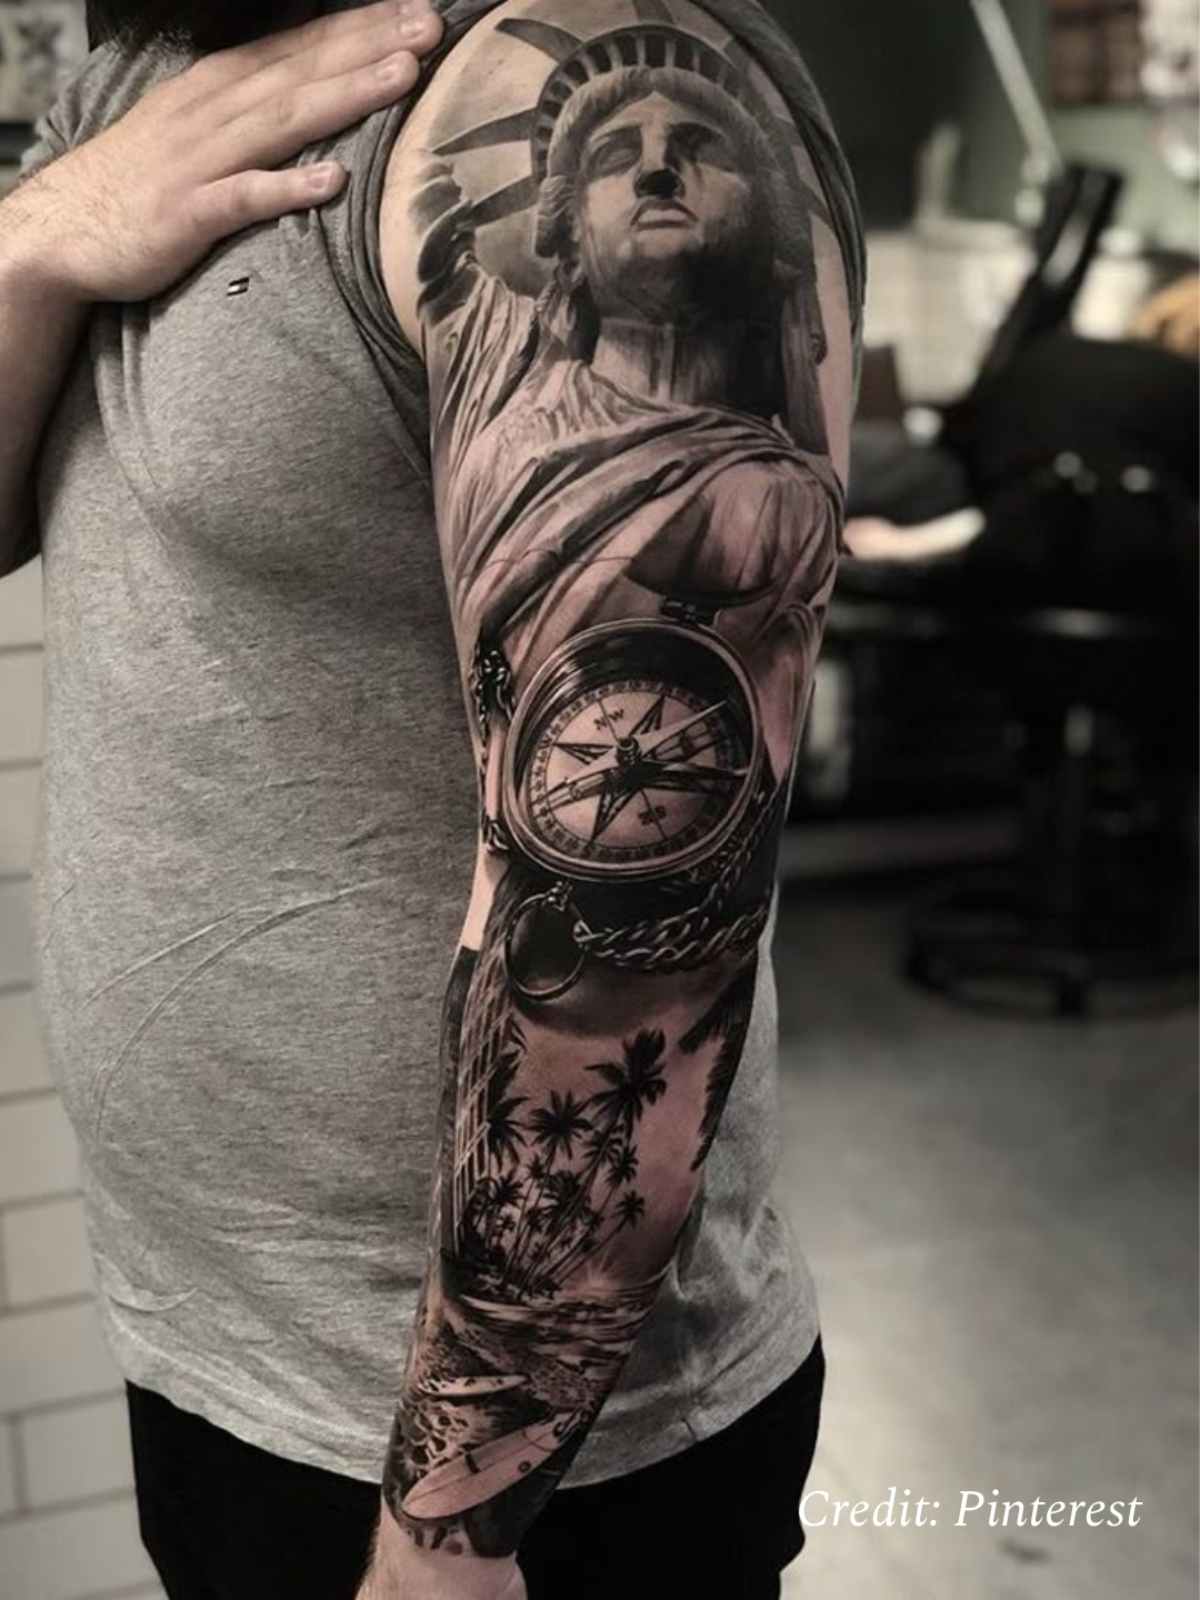
Pairing the statue with another element: a skyline, an eagle, a compass, a date, or the torch flame merging into something else. This is where a design stops being a stock image and becomes yours.
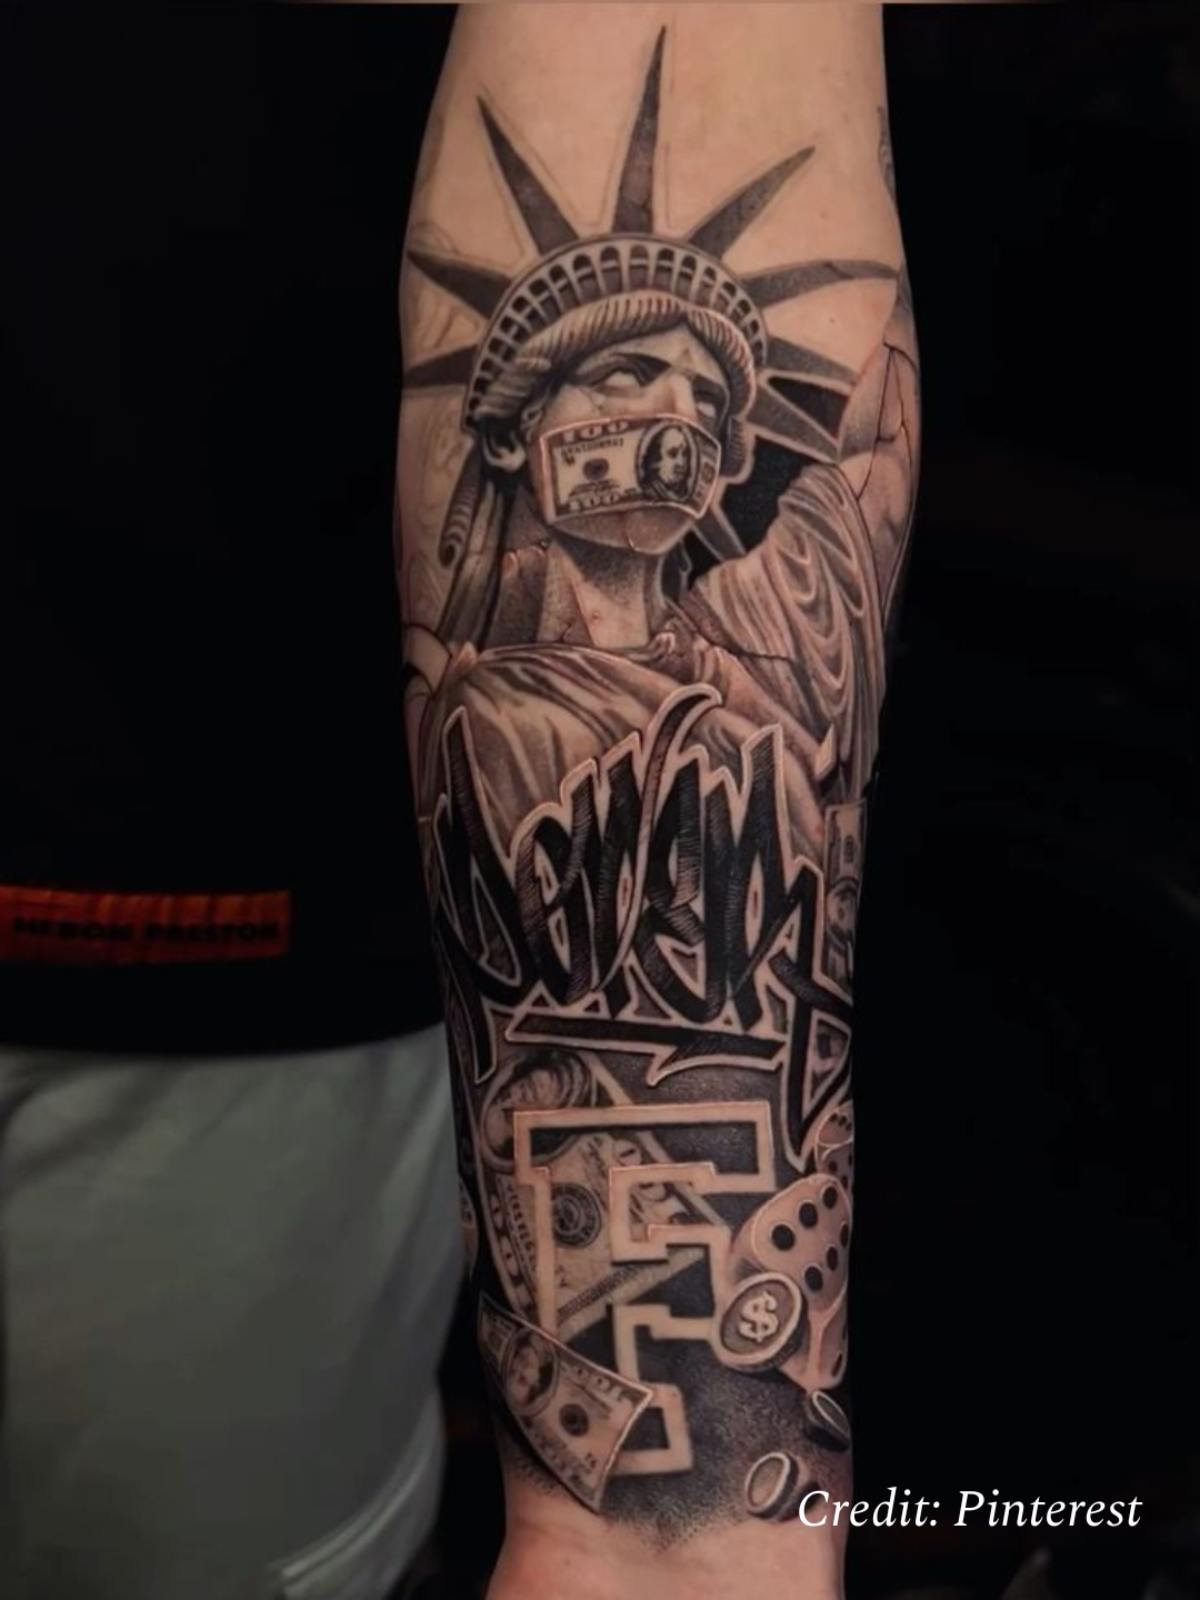
Best at: 15 cm and up, on the forearm, thigh, back or as part of a sleeve. One composition warning: two detailed elements competing for attention is the most common way this design goes wrong. Pick one focal point and let the second element support it. Our illustration work shows how multi-element pieces are balanced.
Placement
| Placement | Suits | Notes |
| Forearm | Outlines, medium portraits, combinations | The design’s vertical shape fits the limb naturally. Flat and easy to heal. Sun exposure means diligent SPF. |
| Upper arm and sleeve | Realism, neo-traditional, full compositions | Room for detail, comfortable to sit through, easy to cover |
| Chest | Large realism, symmetrical compositions | Strong placement for something personal. More painful near the sternum. |
| Back | Large-scale realism, skyline combinations | The widest canvas available. See large-scale work. |
| Calf | Neo-traditional, medium realism | The vertical shape suits the design well; comfortable to sit |
| Thigh | Large detailed pieces | Spacious, private, among the least painful areas |
| Wrist and ankle | Silhouette outlines only | Anything with facial detail will not hold at this size |
Landmark Tattoos as Travel Memory
A statue tattoo belongs to a wider category: marking a place that changed something for you. The same design logic applies whichever landmark it is. Keep the silhouette recognisable, decide early whether the detail justifies the size, and build the composition around one focal element.
We tattoo a great deal of this work for travellers, most often Vietnam-inspired designs such as Hoi An lanterns, travel stamps and Ha Long Bay landscapes. The reasoning is identical: a landmark reduced to its strongest shape reads better and lasts longer than one crammed with detail.
Getting the Design Made at OCD Ink Studio
At OCD Ink Studio every piece is drawn for your body rather than pulled from flash, and artists are assigned by specialisation. A realism portrait goes to a realism specialist; a clean outline goes to a fine line artist. You can see the full team on our artist page and how the work looks once settled in the healed gallery.
Send us your references with a size in centimetres and a placement, and we will come back with an artist match, a time estimate and a quote. Or book directly at our Hanoi or Hoi An studios.
OCD Ink Studio in Hanoi and Hoi An
FAQs
How big does a Statue of Liberty tattoo need to be?
A silhouette outline works from 3 to 4 cm. Crown spikes need around 6 cm, torch detail 8 cm, facial features 12 cm, and a full realism portrait 20 cm or more.
Should it be in colour or black and grey?
Black and grey is the more durable choice, and most artists build this design that way. The statue’s green patina is achievable but green pigment fades faster than most, so expect it to need refreshing sooner.
Where does it look best?
The forearm, upper arm and calf all suit the design’s vertical shape. Chest and back give room for large realism. Wrist and ankle work only for simple outlines.
Does it have to be patriotic?
No. Freedom, resilience, arrival and travel are all common readings, and plenty of people who choose it have no connection to the United States at all.
How long does one take?
A small outline is 30 to 60 minutes. A medium neo-traditional piece is 2 to 4 hours. A large realism portrait typically needs multiple sessions. See our guide to how long tattoos take.
What does it cost?
Small outlines start around USD 30 to 60, medium pieces run USD 80 to 200, and large realism work is quoted per session from USD 300. Full ranges are in our tattoo price guide.